
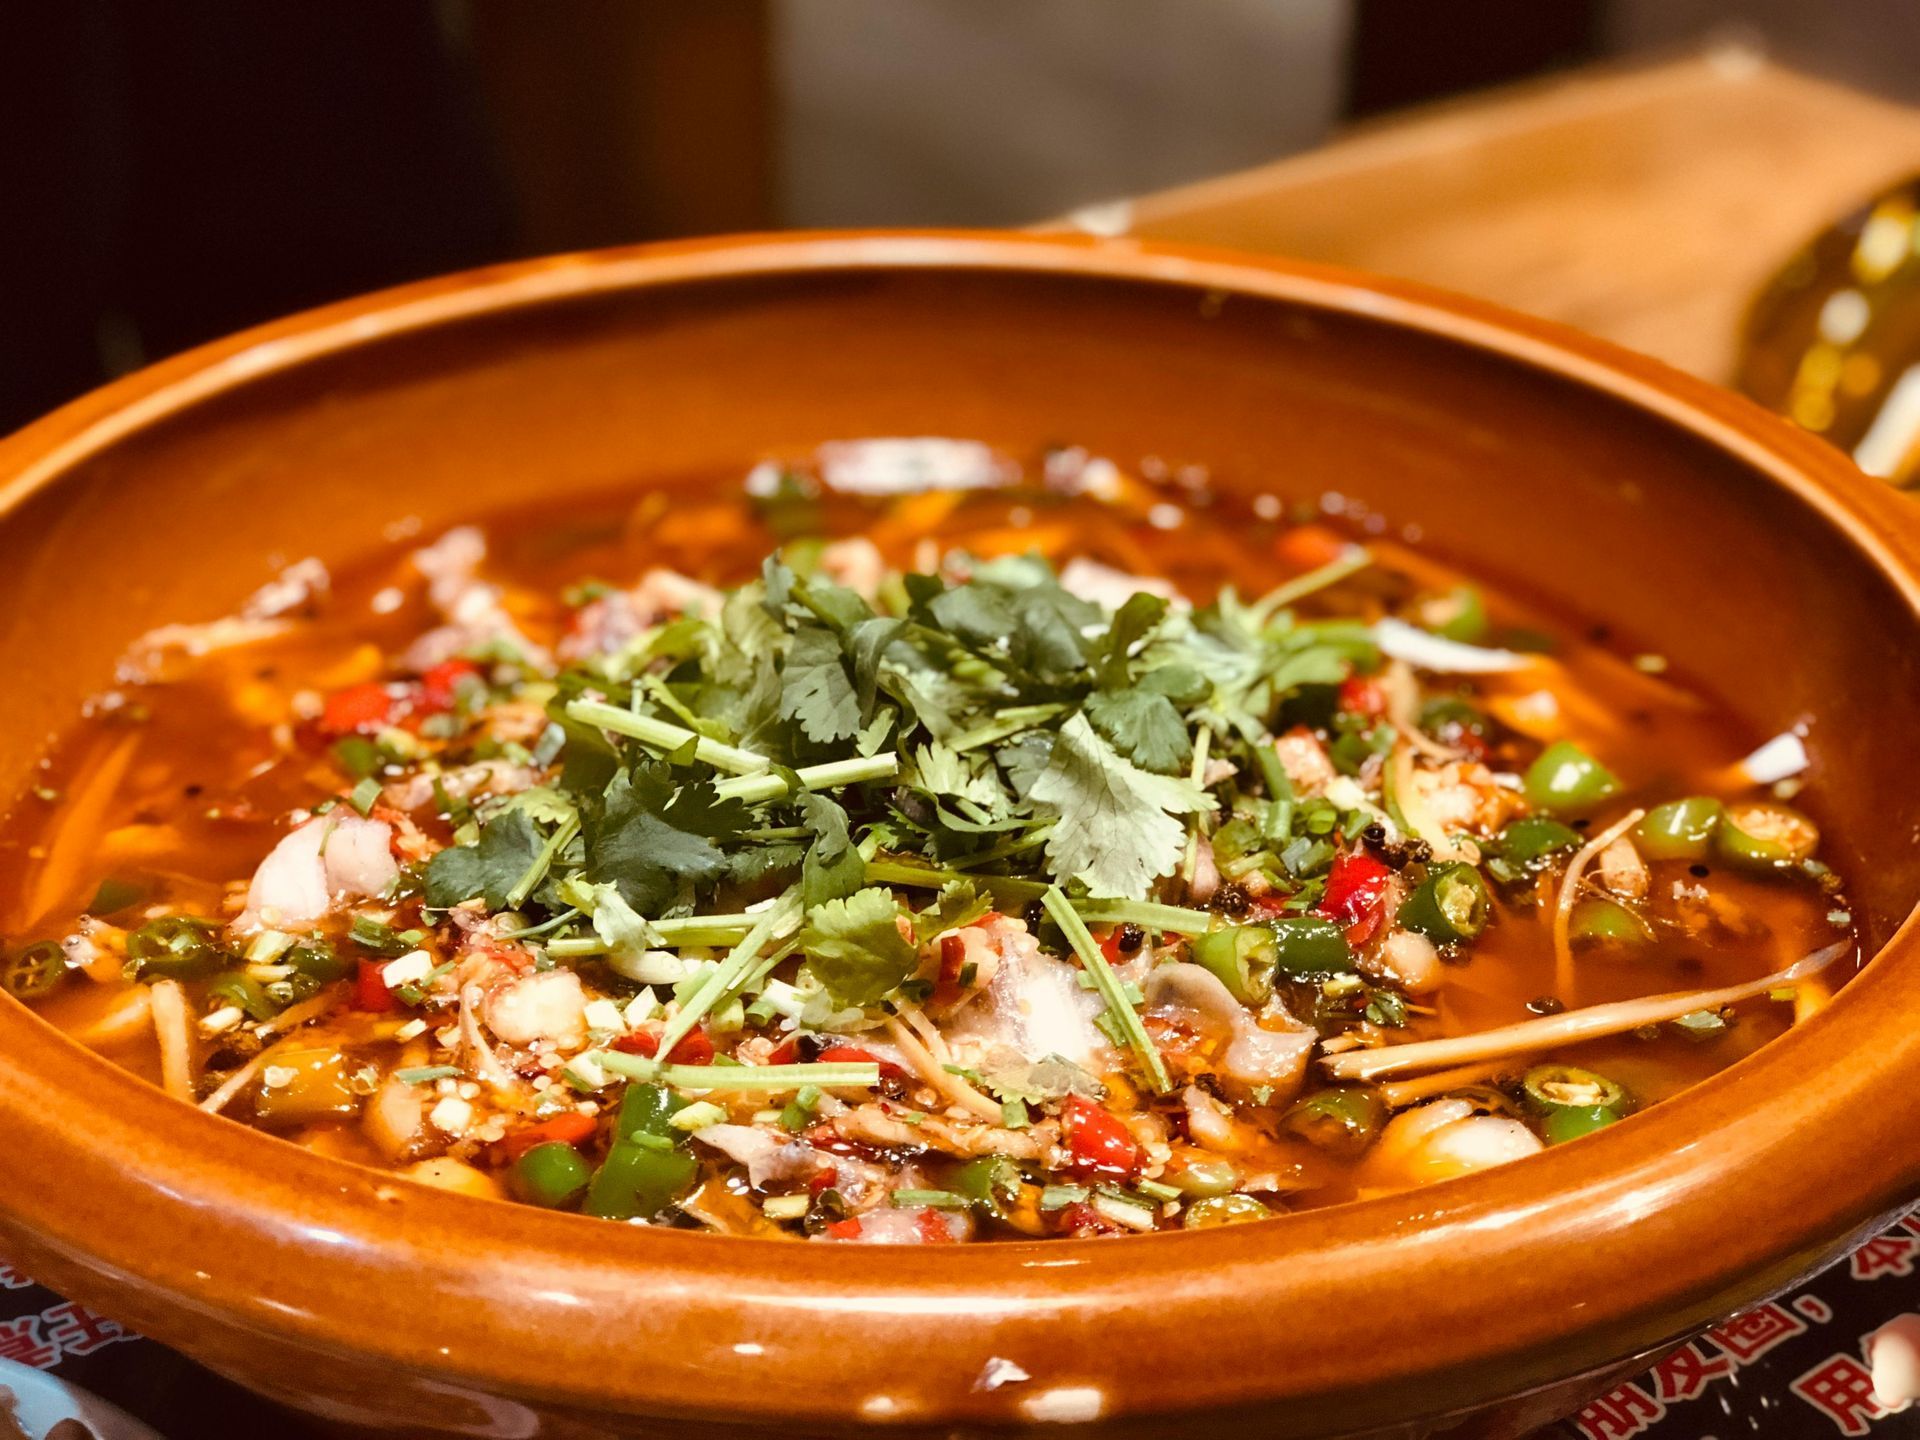
Recipe : Quinoa, Zucchini and Roasted Pepper Chili Staff Member: Jennifer Karch If you know me, you know I start shivering the moment the temperature dips below 80 degrees. As soon as there’s even the faintest hint of fall in the air, I’m reaching for something warm, cozy, and comforting—and nothing hits the spot quite like a smoky bowl of chili. It’s the kind of meal that makes the house smell incredible, fills you up without weighing you down, and brings a little heat to even the chilliest evening. Whether it’s simmering on the stove after a long day or enjoyed by the fire on a weekend night, it’s my favorite way to ease into the cooler months. Roasted Pepper & Quinoa Chili Warm, smoky, and packed with wholesome ingredients, this plant-based quinoa chili is perfect for cozy dinners or make-ahead lunches. Here’s everything you need to bring it together. Ingredients 2 red bell peppers, halved and seeded 2 poblano chiles (or similar mild green chiles), halved and seeded 1 tablespoon olive oil 1 medium zucchini, diced 1 yellow onion, chopped 3 garlic cloves, minced 1 tablespoon ground cumin 1 teaspoon smoked paprika 1 tablespoon chili powder 1 cup quinoa, rinsed 1 (14.5 oz) can diced tomatoes, with juices 1 (15 oz) can pinto beans, drained and rinsed 1 ½ cups vegetable juice (like V8) 1 cup water 1 teaspoon salt, or to taste Instructions 1. Roast the Peppers Preheat your broiler. Arrange the bell pepper and chile halves, skin-side up, on a foil-lined baking sheet. Press them flat with your hand or spatula. Broil for about 10 minutes, or until the skins are blackened. Transfer the roasted peppers to a paper bag, fold it shut, and let steam for 10 minutes. Once cooled slightly, peel off the skins and chop the peppers roughly. 2. Sauté the Veggies Heat olive oil in a Dutch oven over medium-high heat until shimmering. Add the diced zucchini, onion, and garlic. Sauté for 4–5 minutes, stirring occasionally, until the onions are soft and golden. Stir in the cumin, smoked paprika, and chili powder. Cook for 30 seconds to bloom the spices. 3. Simmer the Chili Add the chopped roasted peppers and chiles to the pot. Pour in the quinoa, diced tomatoes, pinto beans, vegetable juice, water, and salt. Stir to combine. Bring the mixture to a gentle boil, then reduce heat to medium-low. Cover and simmer for 20 minutes, or until the quinoa is fully cooked and the chili thickens. 4. Serve & Enjoy Ladle into bowls and top with fresh cilantro, avocado slices, or a spoonful of sour cream if desired. This chili is even better the next day!
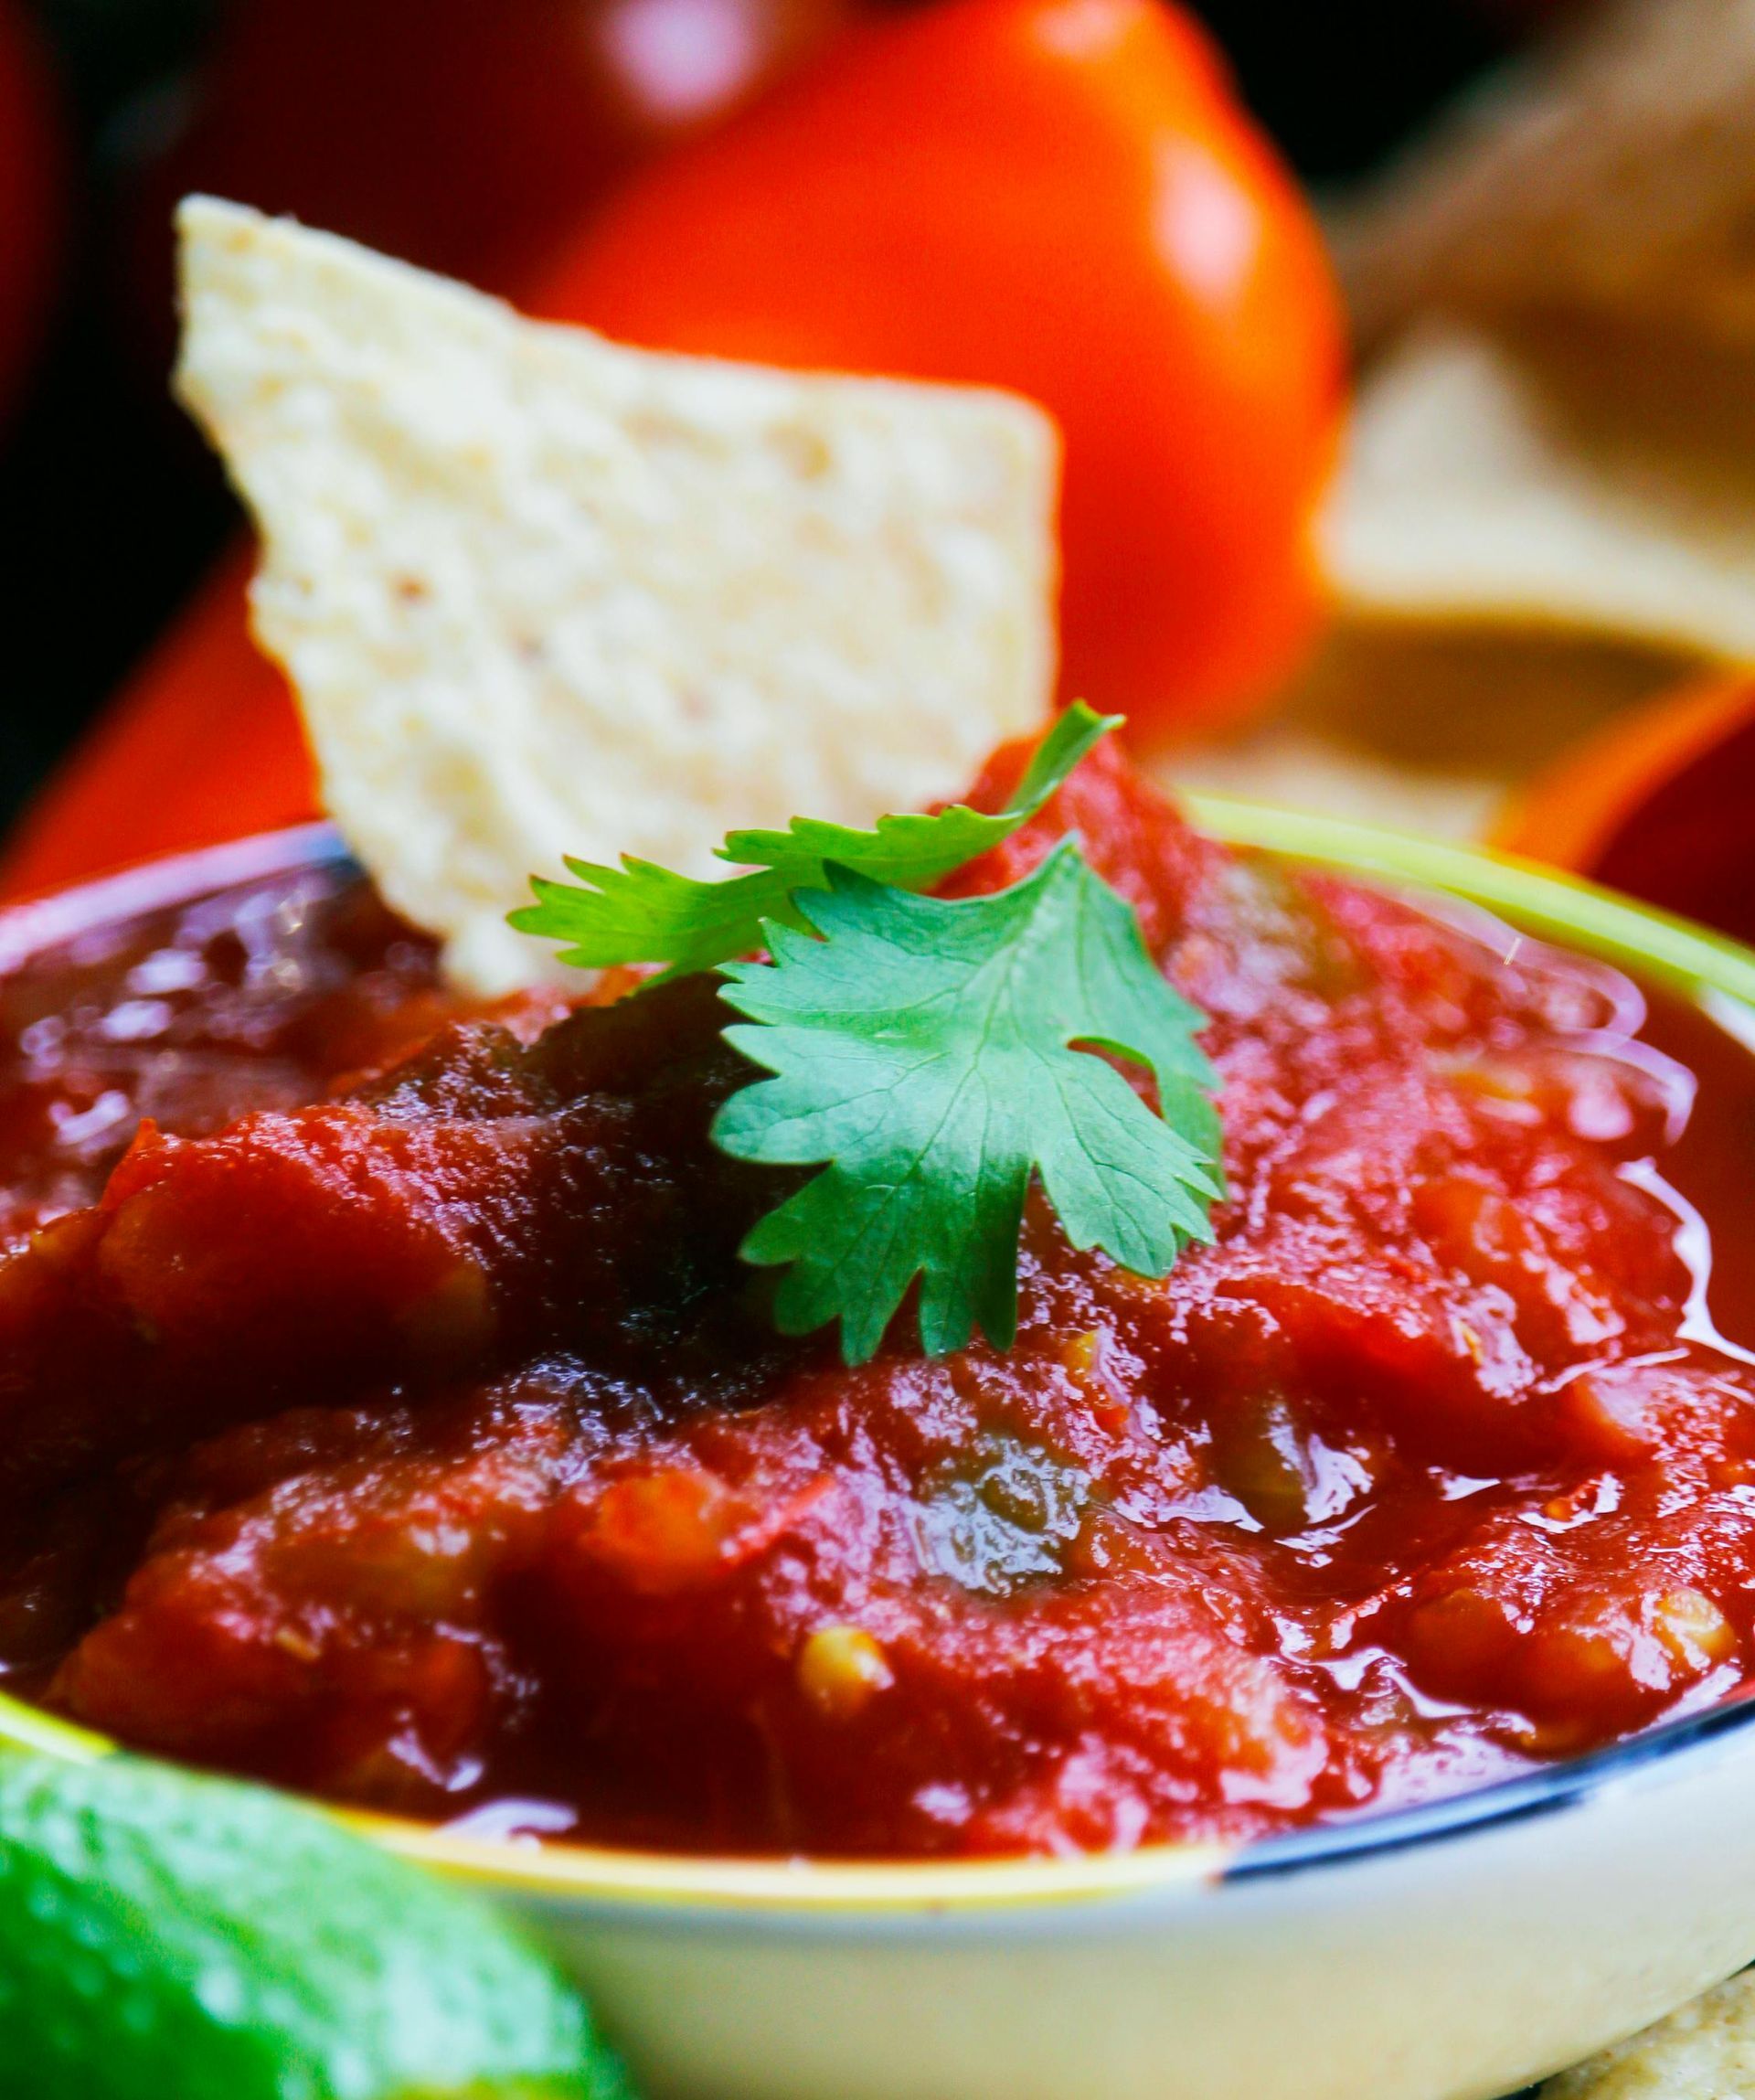
Recipe : Best Summer Salsa Staff Member: Nina Skurkis Summer and gardening are my favorite times of year. I’m excited to share a delicious Fresh Salsa (Pico de Gallo) Recipe featuring fresh vegetables straight from my garden. My other secret is the “Fresh Success Salsa” seasoning packet to bring out the best flavors. I like to change it up a bit and add garlic, red or orange peppers and a little sugar to taste. Salsa, in Spanish, simply means "sauce" and can take a variety of forms. Pico de gallo (a.k.a. salsa fresca) is a type of salsa made with chopped fresh tomatoes and onions, cilantro, fresh chiles, lime juice, and salt. Ingredients Yields about 5 cups (serves 40 as an appetizer-sized portion) 3 cups fresh tomatoes, chopped 1 cup onion, finely diced ½ cup green bell pepper, chopped ¼ cup fresh cilantro, minced 2 tablespoons fresh lime juice 4 teaspoons fresh jalapeño pepper, finely chopped (seeds included for extra heat) ½ teaspoon ground cumin ½ teaspoon kosher salt (or to taste) ½ teaspoon freshly ground black pepper Instructions 1. Chop and Prep Gather and prep all your ingredients: chop the tomatoes, onion, bell pepper, cilantro, and jalapeño. You can leave the tomato skins on—especially if they’re garden fresh—or peel them if you prefer a smoother texture. 2. Mix Everything Together In a large bowl, combine the tomatoes, onion, bell pepper, cilantro, lime juice, jalapeño, cumin, salt, and pepper. Stir until everything is well mixed and evenly coated. 3. Let the Flavors Mingle While you can serve it right away, this salsa gets even better if you let it rest. Cover and refrigerate for 30 minutes to an hour before serving to let the flavors meld. 4. Serve and Enjoy Serve with tortilla chips, spoon over grilled chicken, pile onto tacos—or just eat it by the spoonful. It’s fresh, flavorful, and addictively good. Tips & Variations: For a smoother texture, pulse everything in a food processor a few times—but don’t overdo it! Swap the bell pepper for red or yellow varieties for a touch of sweetness. Like it spicier? Add an extra jalapeño or toss in a serrano pepper. No fresh cilantro? Parsley or oregano make great stand-ins.

Newsletter: January 2025 Recipe: Sourdough Bread Staff Member: Hannah Carter One of Hannah's favorite things to do in the winter months is to bake bread. She enjoys the ritualistic simplicity of feeding the sourdough starter every morning. She believes that there's nothing quite like the cozy ritual of baking sourdough bread on a chilly day. The warmth of the oven fills the kitchen, the scent of freshly baked bread wraps around you like a soft blanket, and the simple act of kneading dough becomes a moment of mindfulness. As the cold settles outside, there's a quiet joy in creating something so comforting and wholesome, perfect for sharing. The Ultimate Homemade Sourdough Bread Advanced, Two-Loaf Recipe for Sourdough Purists If you’re ready to level up your sourdough game, this is the recipe for you. Designed for those already familiar with the basics, this advanced sourdough loaf focuses on time, temperature, and technique to yield a deeply flavorful, artisan-style bread with a chewy crumb and crisp crust. Ingredients Yields 2 loaves Levain 35g mature sourdough starter 35g all-purpose flour 35g whole wheat flour 70g filtered, room temperature water Dough 804g bread flour (plus extra for shaping) 75g whole wheat flour 740g filtered water, divided 18g fine sea salt Rice flour (for dusting bannetons) Instructions 1. Build the Levain Mix starter, both flours, and water in a clean jar. Cover loosely and let rest in a warm spot (around 78°F/25°C) for 5–6 hours, or until it peaks and just begins to fall. 2. Autolyse the Dough About 1.5 hours before your levain is ready: Combine bread flour and whole wheat flour in a large bowl. Warm 660g of the total water to ~90°F (32°C). Mix with the flour until fully hydrated—do not overmix. Cover and let rest for 1–1.5 hours alongside the levain. 3. Mix Levain Into Dough Add the levain to the dough. Use reserved water to help incorporate it using the "dimple and fold" technique. Begin slap-and-fold kneading on an unfloured surface for 3–5 minutes until dough starts to smooth and firm up. Return to the bowl, cover, and let rest for 25 minutes. 4. Add Salt & Final Water Sprinkle salt over the dough. Add remaining water and mix thoroughly. Perform another 2–3 minutes of slap and folds. Cover and move to a warm spot for bulk fermentation. Bulk Fermentation (4.5 hours total) You’ll perform 6 sets of stretch-and-folds : First 3 sets: every 15 minutes Last 3 sets: every 30 minutes After the final fold, let the dough rest undisturbed for 2–2.5 hours. Shaping Divide dough into 2 equal pieces on an unfloured surface. Pre-shape each into a loose boule. Let rest 20 minutes. Perform final shaping: stretch, fold, and roll to build tension. Place seam-side up in floured bannetons lined with kitchen towels. Cover and refrigerate 12–14 hours. Baking Preheat your oven to 500°F (260°C) for 1 hour with a cast iron combo cooker inside. Bake the First Loaf: Turn dough out onto the shallow part of the cooker. Score down the center with a lame. Cover and bake for 20 minutes. Uncover, reduce to 450°F (232°C), and bake 20–30 minutes more until deeply browned. Cool on a wire rack. Repeat for second loaf, reheating combo cooker for 15 minutes before baking. Pro Tips Use filtered water for better fermentation. Maintain your starter regularly for consistent results. Don't skip preheating—hot ovens and hot pans make all the difference. Let the bread cool completely before slicing for the best texture.
Newsletter: October 2024 Recipe: Orange Marmalade Glazed Ham Staff Member: Penny Miller Text: A show stopper from Penny for the fall: Cooking is another way for me to use my imagination and creativity in creating flavors and textures which I can enjoy with my family. This Orange Marmalade Glazed Ham is a wonderful recipe to share with my family and friends with it’s warm sweet colors, smells and flavors. Orange Marmalade Glazed Ham A sweet, tangy, and aromatic holiday centerpiece This show-stopping glazed ham gets its irresistible flavor from a blend of orange marmalade, brown sugar, whole grain mustard, and warming spices. It’s festive, easy to prep, and the glaze caramelizes into a beautiful golden crust that’s holiday-table ready. Ingredients Serves 12 to 14 1 (8–10 lb) bone-in smoked, fully cooked ham (shank portion) ½ cup orange marmalade ½ cup whole-grain mustard ½ cup light brown sugar, packed 2 tablespoons sherry vinegar 1 teaspoon ground coriander 1 teaspoon ground ginger ½ teaspoon ground allspice Freshly ground black pepper, to taste Fresh rosemary sprigs (for serving) Oranges, quartered (for serving) Instructions 1. Prep the Ham Let the ham sit at room temperature for 30–60 minutes. Preheat the oven to 325°F. Trim away any skin and score the fat in a diagonal crosshatch pattern, about 1 inch apart. Place the ham, flat side down, on a rack in a roasting pan. Pour ½ inch of water into the bottom of the pan. Cover tightly with foil and roast for 1 hour. 2. Roast Until Heated Through Remove the foil, check the water level, and add more if needed. Loosely re-cover with foil and continue roasting for another 1 to 1.5 hours—about 15 minutes per pound—until an instant-read thermometer inserted into the center reads 130°F. 3. Make the Glaze While the ham finishes roasting, whisk together the marmalade, mustard, brown sugar, vinegar, coriander, ginger, allspice, and a few grinds of black pepper. Spoon off about ¼ cup of pan juices and stir them into the glaze. 4. Glaze and Finish Increase oven temperature to 400°F. Brush the ham with half of the glaze. Continue roasting, uncovered, for 40–45 minutes, brushing with the remaining glaze two more times, until caramelized and the internal temp reaches 140°F. Add more water to the pan if needed to prevent burning. 5. Rest and Serve Transfer the ham to a cutting board or platter. Let rest for 20 minutes before slicing. Garnish with rosemary sprigs and orange quarters. Serve extra glaze on the side, if desired. Tips for Success Use a meat thermometer—don’t guess! Internal temperature should hit 140°F after glazing. Don’t skip scoring the fat—this helps the glaze seep into the ham and makes for a stunning finish. If the pan begins to dry out, add more water to avoid scorching the glaze.

Newsletter: July 2024 Recipe: Banana Frozen Yogurt Staff Member: Jennifer Karch Text: I'm health and diet obsessed, but sadly, really love ice cream. This is my replacement and I love that I can make this quickly at home and customize it to any flavor I want. Ice cream for breakfast?! Recipe: Ingredients: 4 ripe bananas ¾ cup plain yogurt 2 tbs honey (or to taste) Optional: Cocoa powder Cinnamon Slice bananas and place in a sealed container - freeze for 2 hours Add the frozen bananas, yogurt, honey, and cocoa powder/cinnamon (if using) to a food processor Process until just creamy, stopping to scrape down the sides as needed Serve immediately - it should be more like soft-serve - or transfer to a sealed container and store in freezer
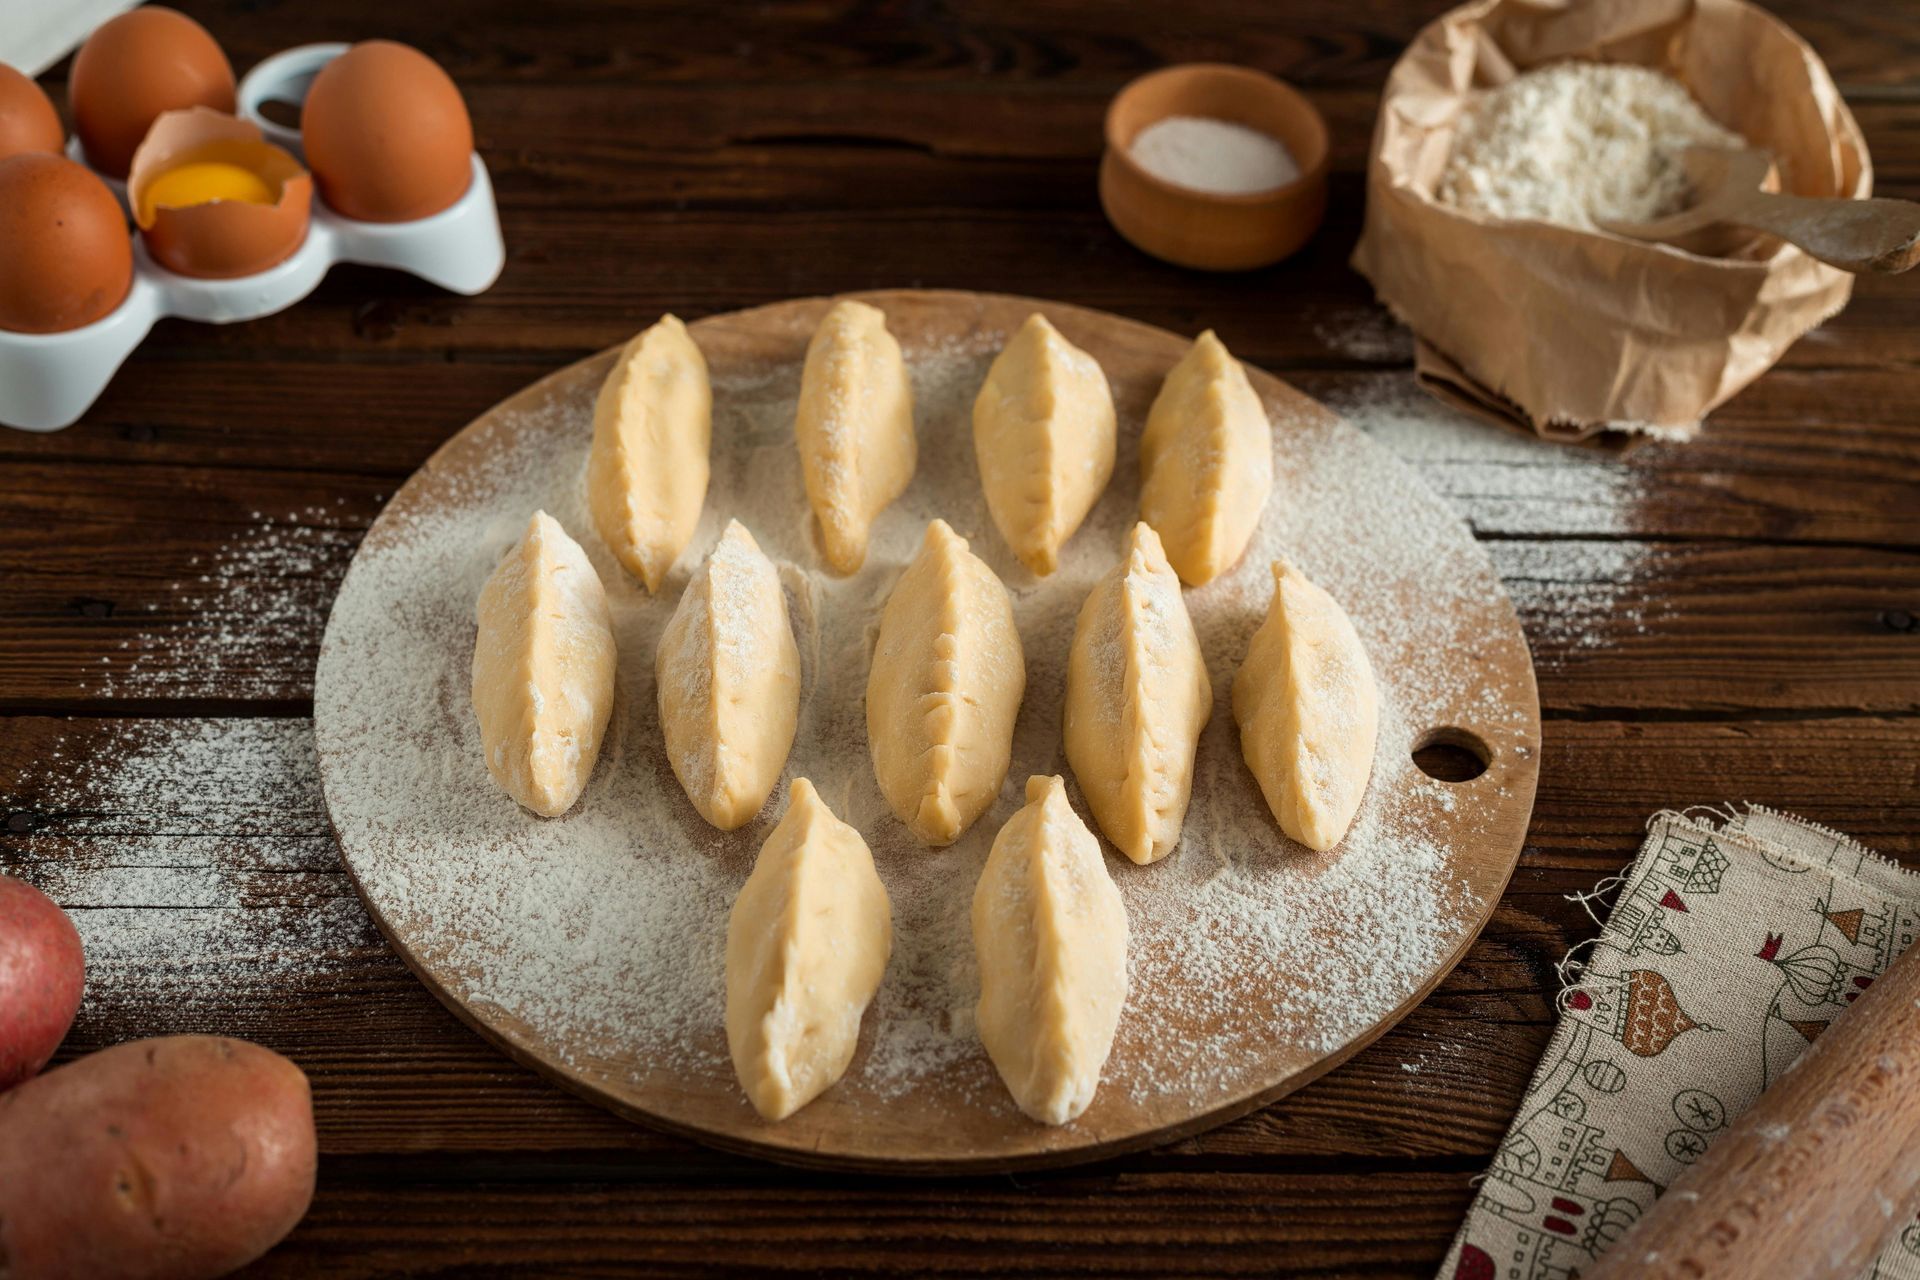
Newsletter: April 2024 Recipe: Pierogi Staff Member: Hannah Text: A recipe from Hannah that reminds her of spring: As spring approaches, my favorite tradition is making pierogis, a cherished activity passed down from my grandma and extended family. Together, we knead the dough, fill it with a savory mixture of potatoes and cheese, and shape each dumpling with care. The kitchen fills with laughter and the comforting aroma of boiling pierogis, evoking fond memories of generations coming together. Making pierogis isn't just about the delicious food; it's about honoring family bonds and the joy of tradition. Classic Homemade Pierogi Traditional Polish dumplings filled with buttery potatoes and cheese This time-honored pierogi recipe comes straight from Grandma Mary’s kitchen. Fluffy dough is wrapped around creamy mashed potatoes, cheddar cheese, and onions—boiled, pan-fried, and served with caramelized onions and sour cream. Comfort food at its finest. Ingredients Makes about 65 pierogi For the Dough: 6 cups all-purpose flour 2 large eggs, beaten 6 tablespoons canola or vegetable oil 2 teaspoons salt 1½–2 cups cold water (start with 1½ cups and add more if needed) For the Filling: 3¾ lbs baking (russet) potatoes, peeled and cubed 1 medium white onion, finely diced ⅓ cup salted butter, softened (divided use) 4½ cups cheddar cheese, finely shredded Salt, to taste White pepper (or fine black pepper), to taste For Serving (Optional): 1 onion, diced or thinly sliced 2 tablespoons salted butter Sour cream Instructions 1. Make the Dough In a large bowl, mix the flour, eggs, oil, salt, and 1½ cups of water. Stir to form a shaggy dough, adding more water as needed. Knead on a floured surface for 4–5 minutes until smooth and pliable. Cover with plastic wrap and let rest at room temperature for 30–60 minutes. 2. Prepare the Filling Boil potatoes in salted water for 15 minutes or until fork-tender. Drain well. While potatoes cook, sauté diced onion in 2 tablespoons of butter over medium-low heat until soft (not browned). Mash potatoes until smooth. Add sautéed onions, remaining butter, and cheddar cheese. Mix until creamy. Season with salt and pepper to taste. Let cool. 3. Assemble the Pierogi Roll out half the dough on a floured surface to ⅛-inch thickness. Cut into 3-inch rounds using a biscuit cutter or jar lid. Place 1½ tablespoons of filling in the center of each round. Fold into a half-moon and pinch the edges to seal tightly. Place on a parchment-lined baking sheet. Repeat with remaining dough and filling. 4. Cook the Pierogi Boil: Bring a large pot of salted water to a boil. Add pierogi in batches. Once they float (2–4 minutes), remove with a slotted spoon. Pan-Fry (Optional but Recommended): In a skillet, melt 2 tablespoons butter. Sauté diced or sliced onion until soft. Add boiled pierogi and fry until golden brown on both sides, about 5 minutes. Freezing Instructions To freeze uncooked pierogi: Place in a single layer on a parchment-lined tray and freeze until solid. Transfer to a freezer-safe bag and label. Cook from frozen—no need to thaw—by boiling until they float. Pro Tips Mash Smooth: Use a ricer or fine masher for a lump-free filling. Shred Cheese Fresh: Pre-shredded cheese won’t melt as evenly. Don’t Overwork the Dough: Keep it soft for easier rolling and better texture. Seal Well: Pinch the dough edges thin and tight to prevent leaking.
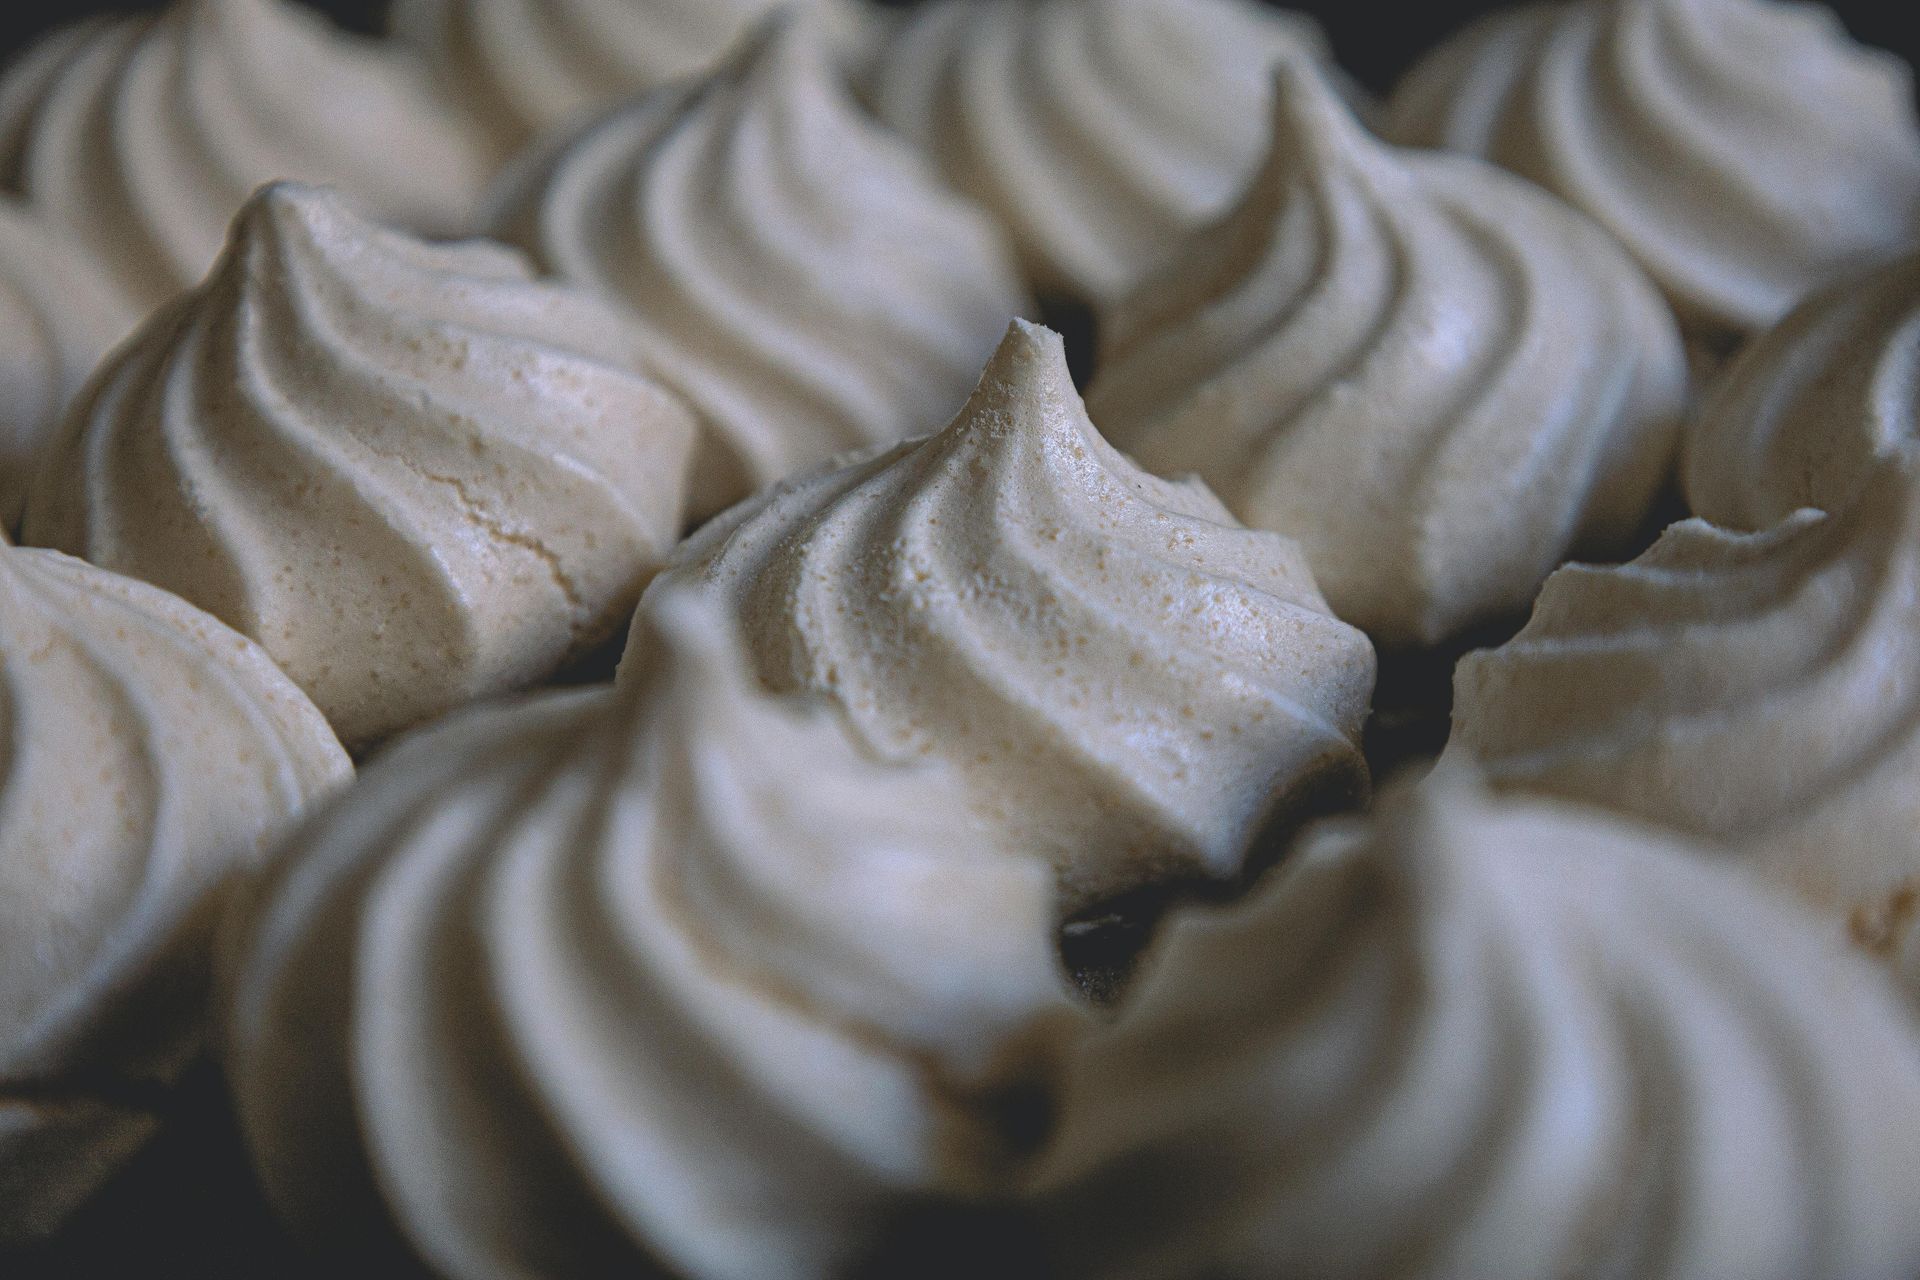
Newsletter: January 2024 Recipe: Divinity Candy Staff Member: Penny Miller Text: A recipe from Penny that reminds her of fall: Every November my Great Aunt Lou would come stay with her sister, my Grandmother Ethel. While they were together, wonderful smells aways came from the general direction of the kitchen. As children we could hardly wait for Thanksgiving and Christmas to arrive when the special treats would be presented in grand fashion out of a paper Christmas gift box. Soft Iced molasses, ginger cookies and divinity were of course our favorite. These sweet treats are filled with nostalgia for me. Old-Fashioned Divinity Candy Fluffy, sweet, and “divine” holiday candy Divinity is a classic Southern confection with a cloud-like texture—somewhere between fudge, nougat, and marshmallow. Light, airy, and sweet, this nostalgic treat is perfect for holiday candy platters and homemade gifts. Ingredients Makes about 40 pieces 2½ cups granulated sugar ½ cup water ½ cup light corn syrup ⅛ teaspoon salt 2 egg whites, at room temperature 1 cup chopped pecans 1 teaspoon vanilla extract Equipment Candy thermometer Stand mixer with whisk and paddle attachments Parchment paper or silicone mat Instructions 1. Prep Your Workstation Line a baking sheet with parchment paper or a silicone mat and set aside. You’ll need this ready before the candy sets. 2. Cook the Sugar Syrup In a large saucepan, combine sugar, water, corn syrup, and salt. Cook over medium heat, stirring occasionally until it comes to a boil. Attach a candy thermometer and continue cooking (no stirring) until the mixture reaches 260°F (hard ball stage) —about 8–10 minutes. 3. Whip the Egg Whites While the syrup is cooking, beat the egg whites in a stand mixer with the whisk attachment on high speed until stiff peaks form. Switch to the paddle attachment. 4. Combine Syrup and Egg Whites Slowly pour the hot syrup in a thin, steady stream into the whipped egg whites with the mixer on high. This should take about 2 minutes—go slow to avoid scrambling the eggs. Continue beating for 5–8 minutes , or until the mixture starts to lose its gloss and holds a shape. Test by dropping a spoonful onto parchment: if it stays in a mound and doesn't puddle, it's ready. 5. Add Flavor and Nuts Stir in the vanilla and chopped pecans. Work quickly—divinity sets fast once it reaches the right texture. 6. Portion and Cool Using two spoons lightly coated with cooking spray, drop tablespoon-sized mounds onto the prepared baking sheet. Let cool and firm up at room temperature. Tips for Divinity Success Humidity matters : Avoid making divinity on humid or rainy days, which can prevent the candy from setting. Work quickly : Once the candy thickens, portion it right away before it becomes too stiff. Test early : If you’re unsure whether the mixture is ready, spoon out a test drop on parchment and watch how it holds up. Flavor Variations Maple Walnut : Add 1 tsp maple extract + chopped walnuts Peppermint : Stir in crushed candy canes + peppermint extract Cherry : Add chopped maraschino cherries Coconut : Fold in 2 cups sweetened shredded coconut Cranberry Almond : Add almond extract + dried cranberries Add food coloring if desired for a festive look, but the pure white version is a nostalgic classic.